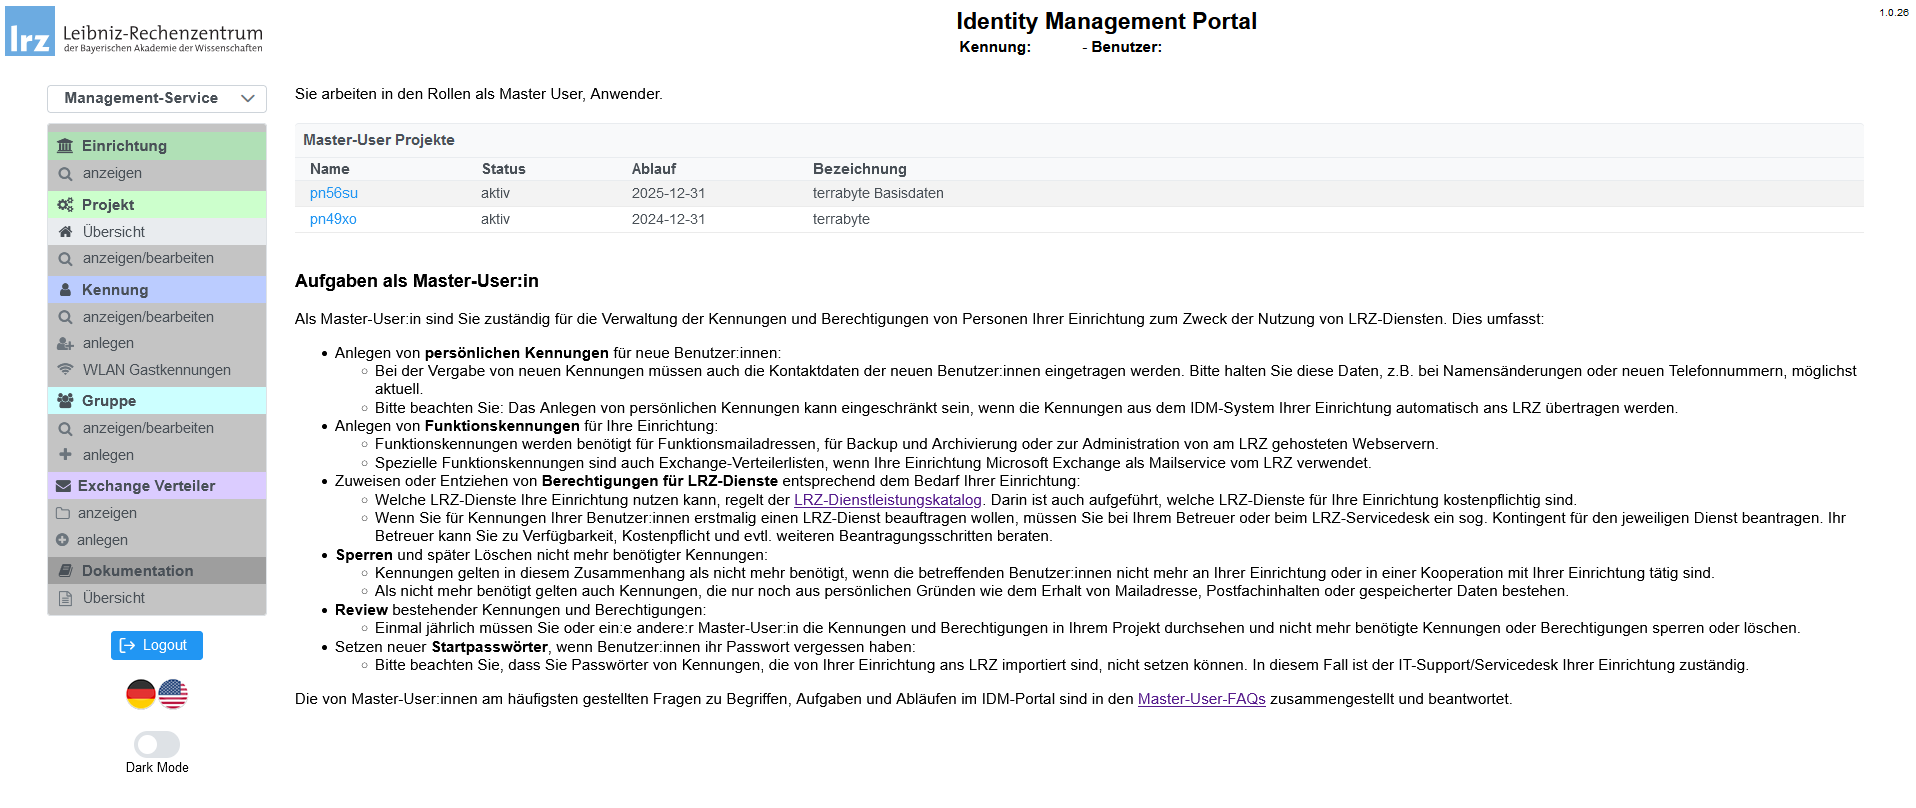
Administration Interface
There is a graphical administration interface, IDM Portal 2, which master users of a project can use to manage terrabyte projects. Please be aware that the following instructions are valid for projects that include access to terrabyte`s compute ressources. For managing access to storage containers, please see our documentation on DSS Management.
Important activities of a master user in the IDM Portal 2 include:
- Generating new terrabyte accounts for external users
- Adding and removing users to/from a project and granting access to terrabyte

How to generate a new terrabyte account for external partners?
As a master user, you may want to add external partners to your project. If these external partners cannot generate a terrabyte account through our self-registration service, you can create an account manually for them. However, the number of accounts you can create is limited to 10. Additionally, accounts you generate are "empty accounts" with no access to any services. Users with such an account cannot log in to terrabyte. See below for instructions on granting access to terrabyte for such users.
To generate a new terrabyte account, follow these steps:
-
Log in with your terrabyte credentials at the IDM Portal 2.
-
From the drop-down menu on the upper left, select "Management Service."
-
Under "Kennung" ("Account"), select "Anlegen" ("Create").
-
Select the project in which the account will be created.
-
Select "Persönliche Kennung" ("Personal account") and click on "Weiter" ("Next").
-
Under "Neue Person als Besitzer anlegen" ("Create new user account"), click on "Anlegen" ("Create").
-
Fill out all personal details, ensuring that you include the nationality.
-
Click on "Übernehmen" ("Submit").
How to add or remove users to/from a project and grant access to terrabyte
As a master user of a project, you can add and remove users with an existing LRZ/terrabyte account to/from your project and grant/withdraw access to the terrabyte compute capacities of your project. Typical use cases include:
- Adding/removing a member of your scientific project to/from a terrabyte project that benefits from higher job priorities in the queue.
- Granting/withdrawing access to/from terrabyte for an external user with an "empty account."
To add/remove users, follow these steps:
-
Log in with your terrabyte credentials at the IDM Portal 2.
-
From the drop-down menu on the upper left, select "Management Service."
-
Under "Gruppe" ("Group"), select "Anzeigen/Bearbeiten" ("View/Edit").
-
There should be at least one group for the Service "HPDA" with the name "[your project id]-c." Select the group.
-
You should see an overview of the group details, the group administrators (master users), and a list of group members. To add or remove members from this group (and grant or withdraw access to the compute capacities of your project), click on "Bearbeiten" ("Edit") in the upper part of the website.
-
A new window opens. At "Gruppenmitglieder" ("Group members"), click on "Bearbeiten" ("Edit"):
a) To add a user: In the field "Kennungen / Mail Adressen" ("Accounts / Mail addresses"), write the account ID of the user and click on "hinzufügen" ("Add").
b) To remove a user: In the list on the right side, remove the user by clicking on the garbage bin icon next to their name.
-
Click on "Übernehmen" ("Submit") at the top of the page.
-
Finally, click on "Speichern" ("Save") at the top of the page.